
How to Measure a Box for a Custom Order (and Avoid a Costly Sample Redo)
To measure a box for a custom order, measure the inside length, width and height of the opening, in that order, and write "inside dimensions" on the request. Most expensive sample redos start with one mistake: the buyer sends outside dimensions, or the supplier reads the numbers that way. The product then does not fit, and the sample has to be made again.
This guide is written for importers, brand owners and purchasing teams who order custom boxes from a factory. It explains how to measure a box, how to record box measurements so a supplier reads them correctly, how much room to leave, what a dieline is and what happens to your numbers after you send them. It ends with the exact list of items that gets you an accurate first quote.
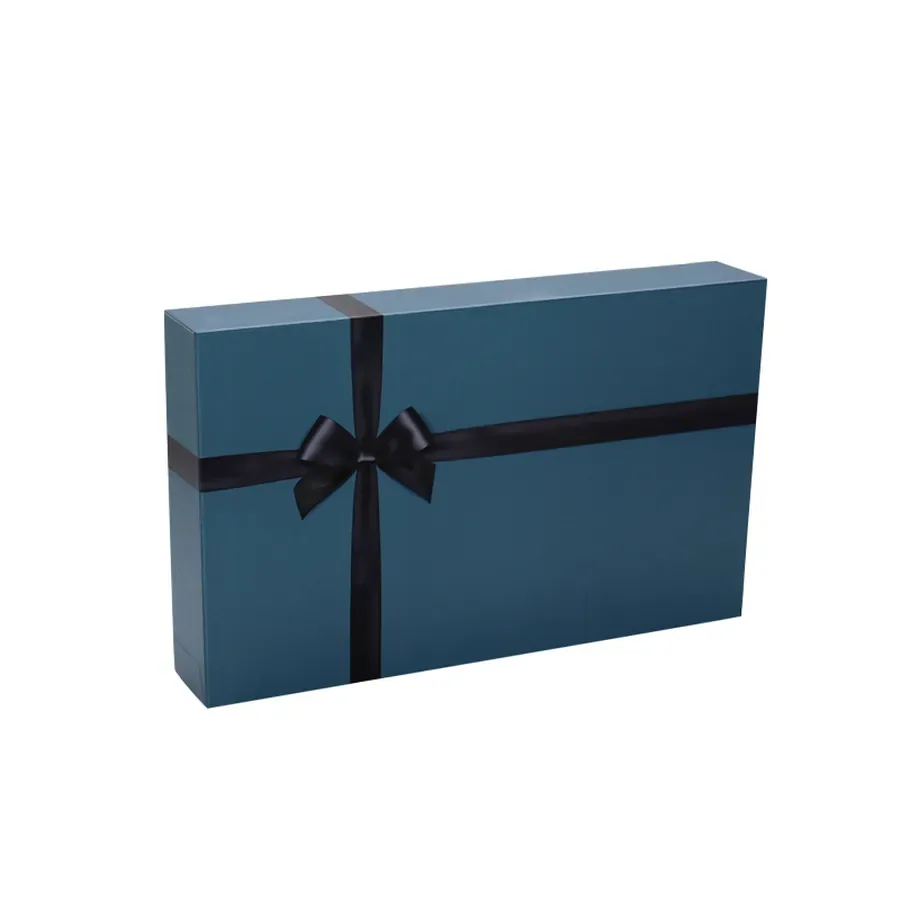
Why a wrong measurement costs more than it looks
A custom box is not a stock item. When the inside size is wrong, you lose in four places at once.
- Time. A second sample round adds days before you can approve bulk production. For a seasonal launch, a lost week can mean a missed shelf date.
- Money. Extra sample fees and courier fees come first. If the error is found late, the loss is a whole production run that does not fit.
- Product damage. A box that is too loose lets the product move in transit. A box that is too tight scuffs the product, or marks the paper wrap when the lid is closed.
- Freight. The outside size sets the shipping carton size. A box a few millimetres larger than it needs to be can push a pallet into more cartons.
The fix costs almost nothing: agree on the inside size in writing, in one unit, before anyone makes a sample.
Inside or outside: which size to send
Custom boxes are specified by their inside dimensions, because that is the space your product occupies. The outside size is larger by the wall thickness, and the wall thickness changes with the board and the structure. A rigid box with 3 mm board and a folding carton made from thin paperboard can have the same inside size and very different outside sizes.
Send the inside size as your main specification. Add a maximum outside size only if shelf space, a display fixture or freight limits you. That lets the supplier choose a board and structure that satisfy both.
How to measure box dimensions: length, width, height, in that order
Always write the box dimensions as length × width × height, and always take the box measurements the same way, so every message in the project means the same thing.
| What | Where to measure | The usual mistake |
|---|---|---|
| Length (L) | The longer side of the opening | Writing it second or last |
| Width (W) | The shorter side of the opening | Measuring the outside edge |
| Height (H) | From the inside bottom to the top edge of the opening | Counting the lid or the wrap thickness |
| Lid and base box | Give the base height and the lid height separately | One height for both parts |
| Drawer box | Give the tray inside size and the sleeve size separately | Sending only the sleeve |
| Magnetic flip box | Give the base inside height; the lid depth follows the structure | Measuring with the lid half open |
Put the unit on every message: millimetres or inches. "200 × 150 × 50" means very different boxes in different units. If your team works in inches and the factory works in millimetres, write both once for each number.
| Inches | Millimetres |
|---|---|
| 4 in | 101.6 mm |
| 6 in | 152.4 mm |
| 8 in | 203.2 mm |
| 10 in | 254 mm |
| 12 in | 304.8 mm |
Quick rule: multiply inches by 25.4 to get millimetres. For example, 7.87 × 5.91 × 1.97 in is 200 × 150 × 50 mm.
Start from the product, then add clearance
Measure the product at its longest, widest and tallest points, including anything that sticks out: caps, handles, cables, hang tabs, ribbon pulls. If the product is irregular, measure the smallest rectangle it fits inside.
Then add clearance so it loads and unloads easily. A common starting point is about 2 to 3 mm per side for a rigid box with a fitted insert. The right number depends on the insert, the product and the structure, so it should be confirmed on a physical sample. The real test is simple: the box closes with the product in it, the lid opens without effort, and the product does not rattle.
A worked example (for illustration only). Suppose a skincare bottle is 45 mm wide, 45 mm deep and 130 mm tall, and it sits in a paper insert that is 3 mm thick on each side. The usable space needed is the product plus the insert on each side plus clearance. On width that is 45 + 3 + 3 + 2 + 2 = 55 mm. The same calculation on depth gives 55 mm. For height, the bottle is 130 mm and the lid needs a little room above it, so the inside height might be set at about 135 mm. The result, 55 × 55 × 135 mm, is a starting figure to send to your supplier, not a final one. The sample confirms it.
If the box holds more than one item, measure the layout, not each item alone. Place the items in the arrangement you want, measure the total footprint and the total height, and send a photo of that arrangement.
Measuring by product type
Different products fail in different ways, so check these points before you send the numbers.
- Bottles and jars (cosmetics, skincare). Measure the widest point of the bottle, which is often the shoulder or the cap, and the full height with the cap on. Note whether the pump or dropper adds height.
- Jewelry. Measure the item laid in its final position. Rings, bangles and necklaces need an insert, and the insert sets the real usable size.
- Electronics and accessories. Include cables, adapters and manuals that go in the same box. People often measure the device alone and forget the accessories.
- Apparel and soft goods. Fold the product the way it will be packed, press it flat, and measure that. Soft products compress, so a few millimetres of tolerance is usually enough.
- Gift sets. Arrange every item in the set and measure the layout. Decide the insert layout before fixing the box size.
Rigid boxes: the board changes the outside size
A rigid gift box is built from thick greyboard wrapped in paper. Common greyboard thicknesses run from about 1.5 mm to 3 mm. A thicker board gives a stronger, more premium box, and it also raises the outside size, the weight and the cost.
The practical rule: fix the inside size first, then ask your supplier for the outside size with the board you chose. Do the arithmetic early if freight matters. A box with 3 mm walls is about 6 mm larger than its inside size in both length and width, before the paper wrap is counted.
For lid-and-base and magnetic flip styles, the gap between the lid and the base also affects how the box opens and closes. A lid that is too tight is hard to lift. One that is too loose looks careless. See the lid and base gift boxes and flip and magnetic boxes we make for reference structures, and use the reference code in your request.
Manufacturing tolerance also exists. Hand-wrapped rigid boxes typically vary by about 1 to 2 mm, so do not design a fit that depends on a fraction of a millimetre. Ask your supplier for the tolerance they work to.
What is a dieline, and why will you be asked for one?
A dieline is the flat drawing of a box before it is folded. It is the file the box is cut, creased and printed from. It shows:
- Cut lines, where the die cuts through the board or paper.
- Fold and crease lines, where the material bends.
- Glue areas, where the parts join.
- Bleed, extra artwork beyond the cut line so no white edge shows after trimming. About 3 mm is common, but confirm the number with your supplier.
- The safe zone, the area where logos and text will not be cut or folded through.
A box template is a ready-made dieline for a standard style and size. For a custom size the dieline is recalculated from your inside dimensions, so a downloaded template is only a starting point. If you place artwork on a template that does not match your final size, the artwork shifts when the dieline is corrected.
You do not need a dieline to get a first quote. Product dimensions and a reference photo are enough. We can prepare the dieline for your approval before sampling. Dielines are usually vector files such as AI or PDF. Cut lines and crease lines are marked in different colours or line types depending on the factory, so ask which convention yours uses before placing artwork.
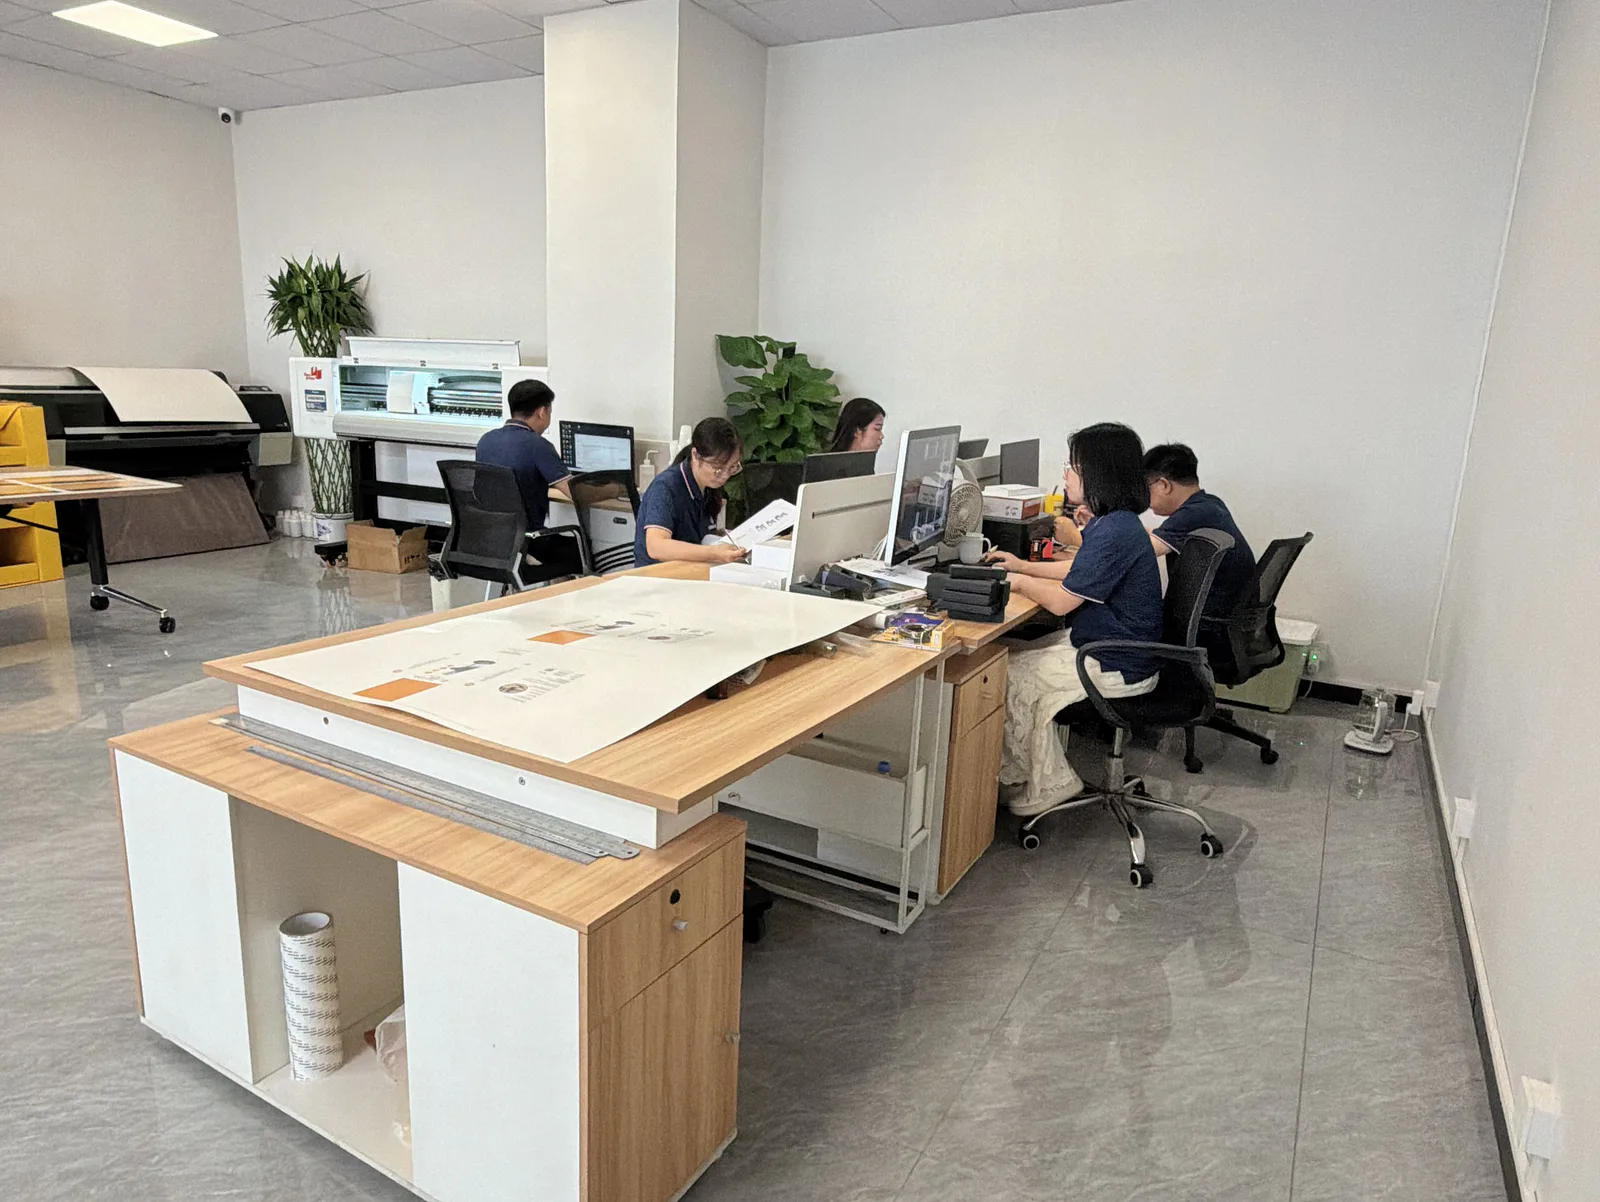
What happens to your numbers after you send them
Knowing the path helps you see where mistakes enter and where they can be caught.
- Requirement review. Your inside size, product weight, quantity, market and priorities are reviewed against the structure you chose.
- Dieline preparation. The dieline is built from your inside size and the board thickness, then sent to you for approval.
- Sample cutting. A sample structure is cut from the dieline file on a digital cutting table, so you can check the fit before any cutting die is made.
- Approval record. The sample, artwork, colour and specification are approved and recorded.
- Bulk production. Only after approval does a cutting die get made and printing, finishing and assembly begin.
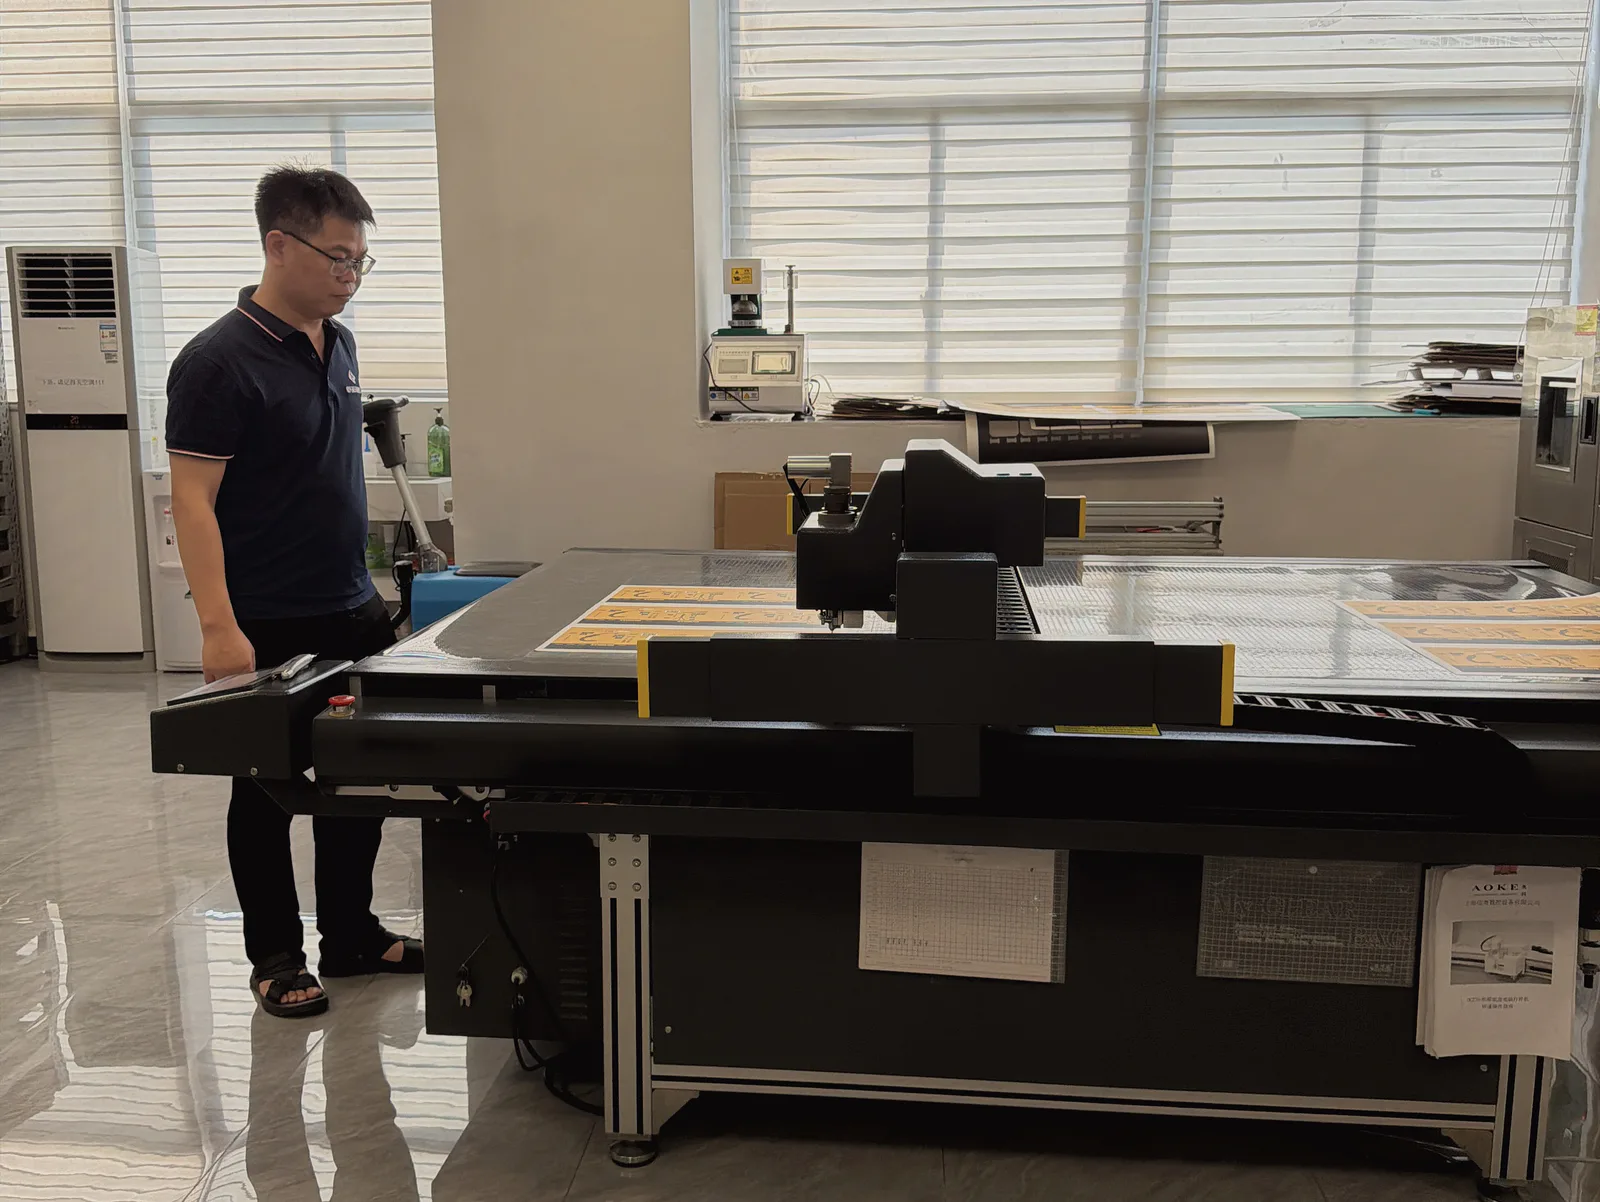
The cutting die is the expensive tool. That is why the fit check at the sample stage matters: it is much cheaper to correct a number on a dieline than to correct a die.
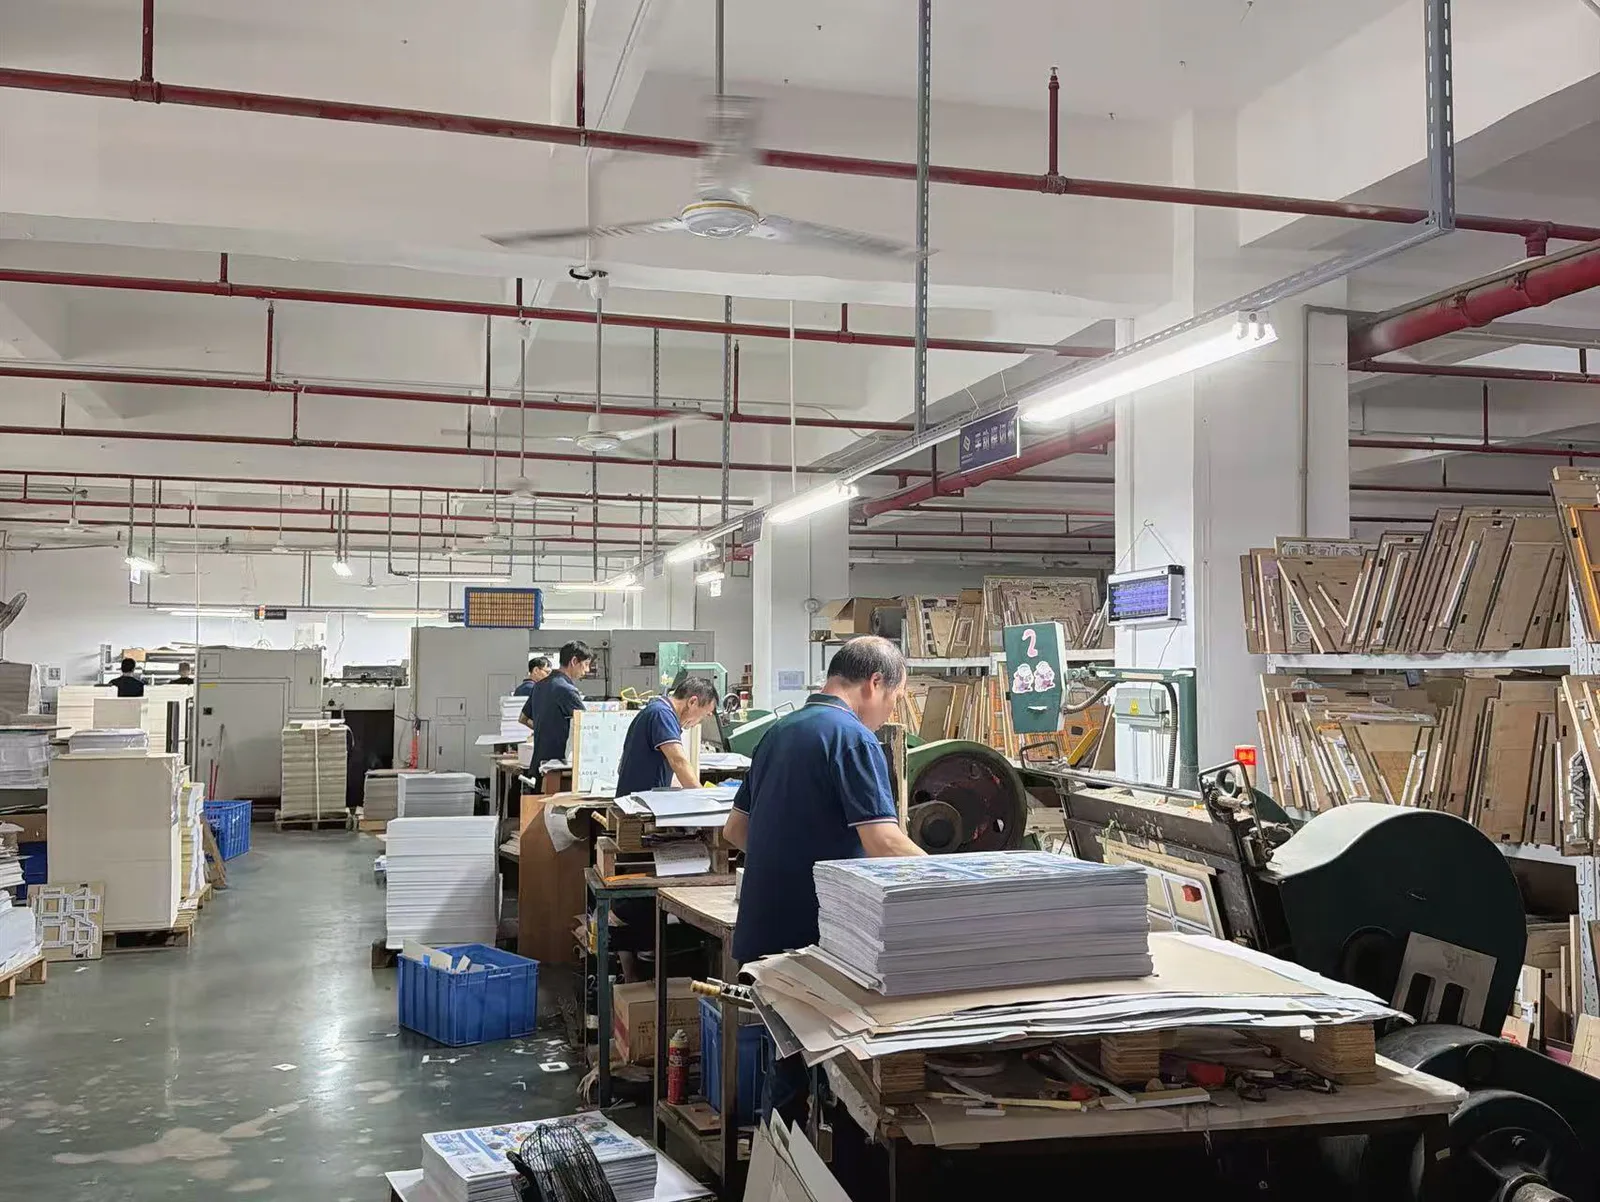
Our working MOQ is 1,000 pcs per size and design, and selected sample structures can target from 3 working days after details are confirmed.
Send these five items for a first quote you can rely on
- Inside dimensions and product weight. Your box measurements as L × W × H, the unit, and how heavy the product is.
- Box style. A photo, an existing sample, a reference code from our range, or a dieline.
- Quantity and timing. Quantity per size and design, and your target date.
- Artwork and finishes. Logo files in vector format, and any foil, spot UV or embossing you want.
- Insert and destination market. What holds the product in place, and where the boxes ship.
Seven measuring mistakes that cause sample rework
- Mixing inside and outside size. Write "inside dimensions" on every request.
- Changing the order of L, W, H between messages. Fix the order once.
- Forgetting the insert. Subtract its thickness from the usable space.
- Measuring only the main body of the product. Include caps, handles, cables and hang tabs.
- Mixing millimetres and inches. Use one unit, or write both for every number.
- Using a template for a different size. Always rebuild the dieline from your inside size.
- Skipping the physical sample. A number on a screen is not a fit check.
How we reduce your risk on size
Before any sample is made, we send the dimensions back to you in writing, so both sides work from the same inside size. We prepare the dieline for your approval, and the sample, artwork and specification are approved before bulk production starts. If you are unsure of a number, send the product and a photo of what you have, and we will tell you which measurement we need.
Send your project requirements, or see how our OEM packaging process works from approved sample to bulk production. You can also read about materials and finishes before you choose a board.
FAQ
How do you measure a box for custom packaging?
Measure the inside length, width and height of the opening, in that order, and label the numbers "inside dimensions". Add the product's own size plus clearance and any insert thickness, then confirm the result on a sample.
What order should box dimensions be written in?
Length × width × height. Length is the longer side of the opening, width is the shorter side, and height is the depth. Put the unit on every number.
Should I send inside or outside dimensions?
Send inside dimensions for custom boxes, because they decide whether the product fits. Add a maximum outside size only if shelf space or freight is limited.
How much room should I leave around the product?
It depends on the insert and the structure. About 2 to 3 mm per side is a common starting point for a rigid box with an insert, and the final number should be confirmed on a physical sample.
What is a dieline?
A dieline is the flat drawing of a box before it is folded. It shows cut lines, crease lines, glue areas, bleed and the safe zone, and it is the file the box is cut and printed from.
What is the difference between a dieline and a box template?
A dieline is the flat drawing for your exact size. A template is a ready-made dieline for a standard size, used as a starting point.
Do I need a dieline before asking for a quote?
No. Product dimensions and a reference photo are enough for a first quote. We can prepare the dieline for your approval before sampling.
What file format should the dieline and artwork be in?
Vector files such as AI or PDF are the usual choice. Ask your supplier which line colours or line types mark cut and crease lines.
How thick are the walls of a rigid box?
Common greyboard runs from about 1.5 mm to 3 mm. The wall thickness adds to the outside size, so fix the inside size first and ask for the outside size afterwards.