
Custom Inserts for Boxes: How to Choose Fit, Protection and Presentation
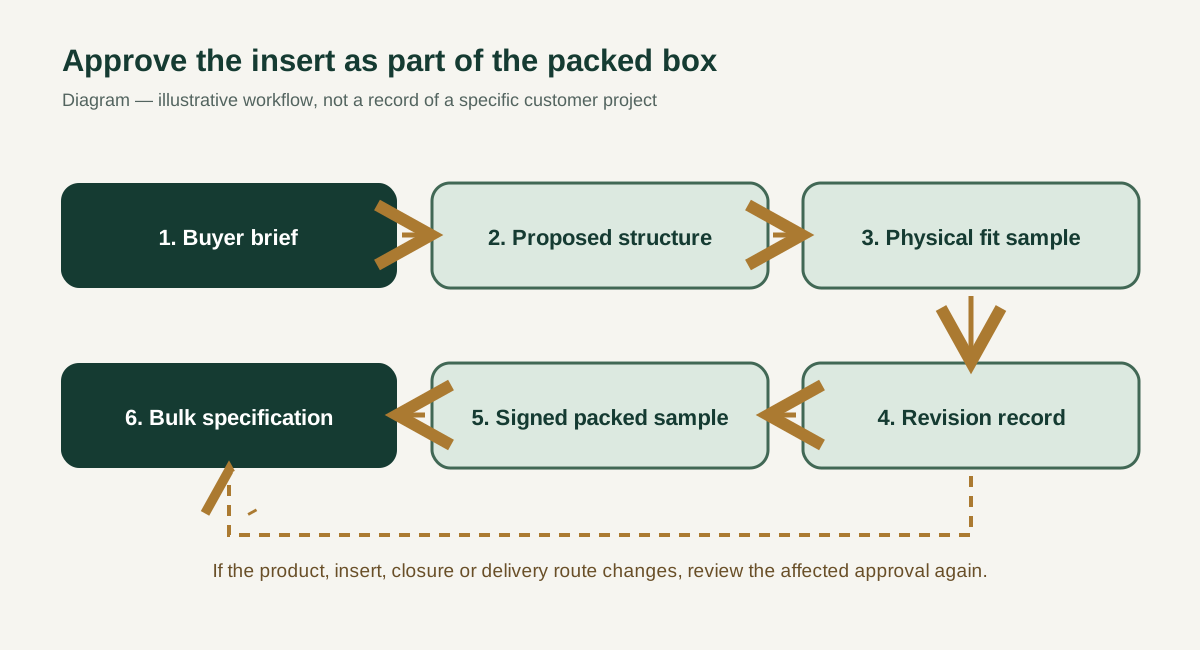
A custom box insert should keep the product in its intended position, leave enough room for the box to close, and suit the way the finished pack will be displayed or shipped. Start with the real product and its route to the customer, not with a photograph of a material you like. Then compare structures, request a physical sample, and approve the complete packed box—not the empty insert alone.
That sequence matters to a brand owner ordering a launch box, a purchasing team comparing suppliers, and a distributor assembling a multi-item kit. The same attractive tray can behave very differently when the product changes weight, a cap projects farther than expected, or the pack moves from a retail shelf into a parcel network. This guide turns those unknowns into questions you can answer before you commit to a production specification.
The examples below are selection principles, not claims that a particular material guarantees a test result. The available materials, construction, tooling, price, and timing for your project need a supplier review and an approved sample. If a claim matters to your market—such as food-contact suitability, recyclability, or a transport-test result—ask for evidence specific to the finished configuration rather than accepting a broad material label.
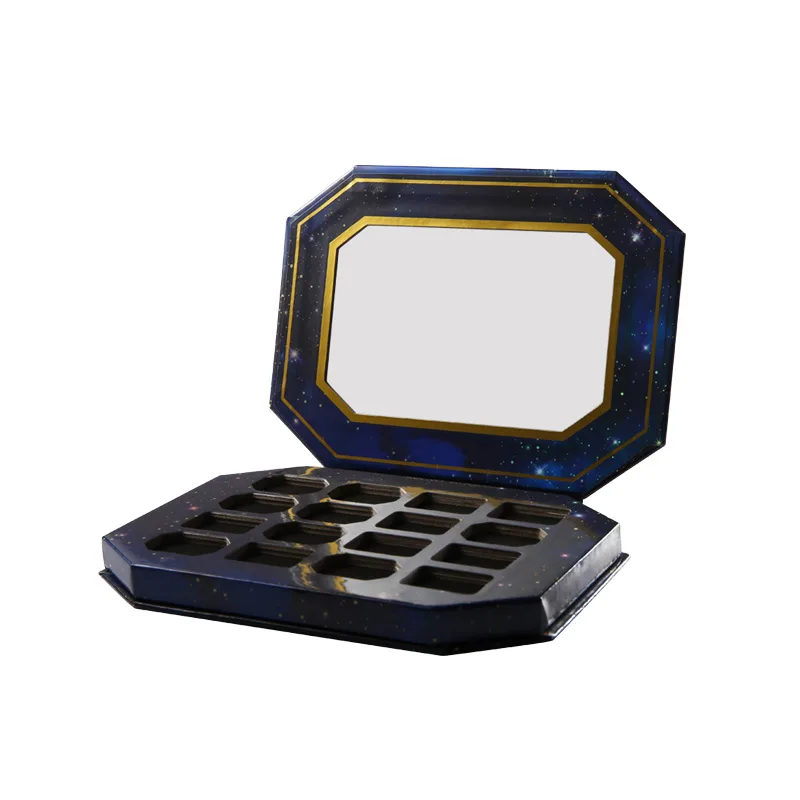
First decide what job the insert has to do
Buyers often ask, “Which insert material is best?” before agreeing what “best” means. There are at least four different jobs. An insert may locate items so they do not move visibly when the lid opens. It may separate surfaces that could rub against each other. It may support vulnerable points when a completed pack is handled. It may present a collection in a deliberate order. A design can succeed at one job and fail at another.
For example, a tray can look precise in an empty box but be difficult for a customer to remove a product from. A soft lining can make a premium gift look inviting while allowing a heavy object to shift beneath it. A divider can separate several components yet leave them free to jump upward when the pack is turned over. None of these faults is visible in a flat rendering. They emerge when the actual item, insert, lid and outer pack are handled together.
Write the job as an outcome that can be checked. “Each bottle remains in its assigned position when the closed box is gently handled” is more useful than “premium protective insert.” “A customer can lift the device without pulling on its cable” is more useful than “custom-fit cavity.” If shipping protection matters, define the distribution route and how damage would be judged. The International Safe Transit Association (ISTA) advises selecting tests with the actual distribution environment in mind; appearance alone is not a substitute for packaged-product evaluation.
Your first brief can therefore be short: what the product is, which surfaces cannot be marked, how many parts must be arranged, whether the insert will be visible, and how the package will travel. Add the commercial constraints—quantity and target cost—only after the functional requirement is clear. This order prevents the lowest-cost-looking component from silently becoming an expensive sample redo.
A buyer’s decision matrix: compare constructions, not adjectives
The table is a starting point for a conversation, not a ranking of “good” and “bad” materials. Each row describes a construction that might be considered. The precise grade, thickness, cavity geometry, coating, and supply route still need project-specific confirmation.
| Construction to discuss | Why a buyer might consider it | What the sample must show | Question to ask before accepting a claim |
|---|---|---|---|
| Folded or die-cut paperboard | A visible presentation tray, folded locator, or separation layer where a board structure is appropriate | Whether folds stay in place, edges contact the product, and items can be lifted out | Which board and surface finish are proposed, and how will contact marks be assessed? |
| Corrugated-board locator or partition | Positioning or separation inside a mailer or an outer shipping pack | Whether the chosen board geometry holds its shape in the complete pack | How will the assembled pack be evaluated for this distribution route? |
| Wrapped rigid-board platform | A presentation surface within a rigid gift box | Whether the covering remains neat around edges and openings, and whether the product sits at the intended height | Which surfaces are visible, and is the wrap compatible with the selected structure? |
| Foam or other cut-cavity material | A project where a formed cavity, surface feel, or cushioning direction warrants review | Fit, removal effort, surface contact and behavior of the full packed assembly | Is this material and conversion process actually available for this project, and what evidence supports any performance claim? |
| Molded-fiber form | A shaped, fiber-based direction worth assessing for a particular product and volume | Cavity fit, appearance, handling and the complete packed configuration | What tooling, samples, material documentation and local disposal guidance apply? |
Do not read the table as a promise that Baoxinglong produces every listed material itself. The company’s published material information specifically mentions paperboard, corrugated and project-specific inserts. Foam and molded fiber are comparison options a buyer may ask about; feasibility must be confirmed for the particular job. Similarly, do not infer a guaranteed recycling route from “paper,” “fiber,” or “plastic-free.” The finished construction, adhesives, coatings, labels and the destination market all matter.
An effective shortlist has two or three plausible directions, each tied to the job statement. The supplier can then explain what differs in structure, sampling and quotation. If all options are described only as “high quality,” ask for a drawing, a physical sample and an explicit list of unknowns. That evidence is more valuable than another adjective.
Start with the product—not the box dimensions
The most expensive measurement error often begins with a neat rectangular dimension that omits the part actually controlling the fit. A bottle’s cap may be wider than its body. A charger may arrive with a cable already wrapped around it. A jewelry set may include a card, cleaning cloth and warranty leaflet that must remain visible. The insert has to work with the packed state, not an idealized product silhouette.
Record length, width and height in one unit, but also identify protrusions, delicate finishes, flexible parts, and the intended orientation. Photograph the product from the top and side next to a ruler. If several items share a box, photograph their proposed arrangement at approximately the order in which the recipient should see them. Mark which parts must be removable separately. A short video of someone lifting the product can reveal a grip problem that a top-view image misses.
You do not need to calculate a universal clearance allowance from a blog post. The amount of space needed depends on the product, the construction, manufacturing variation, how an item is loaded, and how it is removed. Instead, give your supplier the actual dimensions and the function you need, then approve the fit on a physical sample made to the agreed specification. If the supplier proposes a clearance or tolerance, ask where it is measured and how the sample demonstrates it.
Only after the product arrangement is understood should the insert and box be dimensioned together. A cavity, folded wall, lid, wrap and lifting tab all occupy space. Changing any of them can change the usable space inside the finished pack. Our separate guide on how to measure a box and read a dieline covers the measurement language; here the key is to make the product, insert and box one coordinated drawing rather than three unrelated purchases.
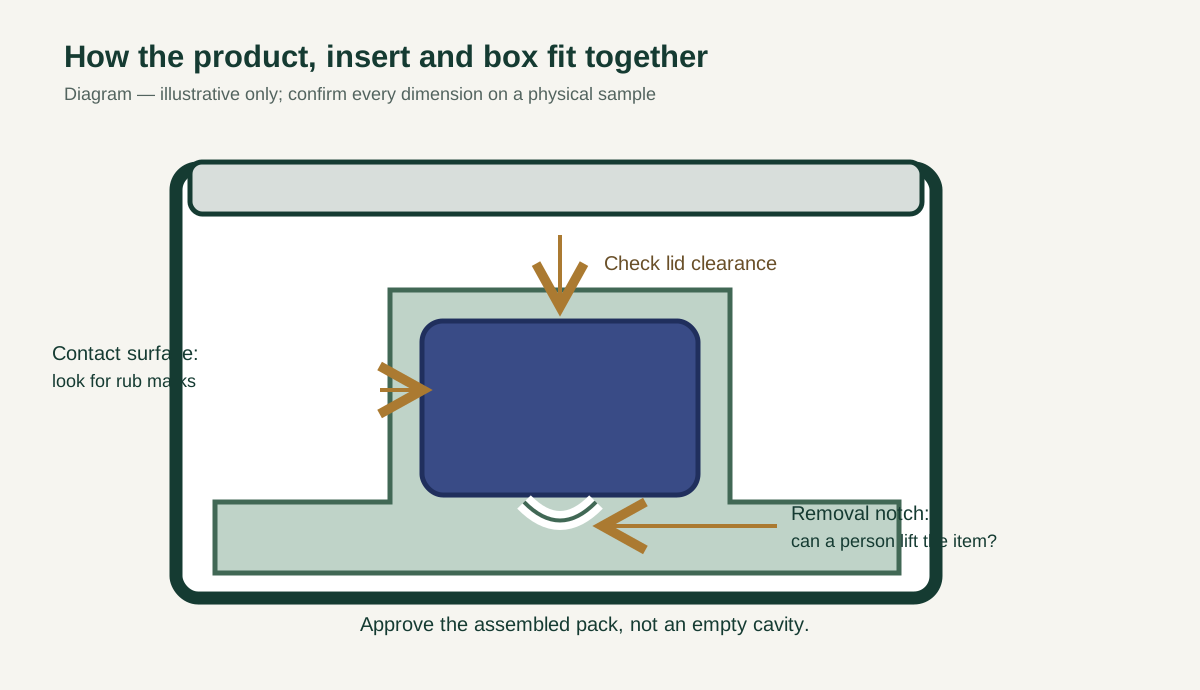
Match the insert to the opening experience
Protection is not the only job. A brand may want a collector’s item to sit high and be immediately visible. Another buyer may want a skincare set to appear in a specific sequence. A replacement-parts kit may prioritize fast counting and clear labels over a dramatic reveal. An insert that ignores the opening experience can make a sound product feel awkward.
View the proposed pack from the customer’s position. When the lid opens, does the first visible surface look intentional? Can the user understand where to start? Does the item have a natural grip point, or must the customer pry at a delicate finish? Are paper instructions hidden under the product where they will be overlooked? If a ribbon pull, finger notch or removable layer is proposed, check it with the actual item and the people who will pack the box.
For gift packaging, a visible paperboard or wrapped platform may be discussed for its appearance as well as its locating function. For a corrugated mailer, a less decorative locator may be perfectly appropriate if it keeps the order organized through handling. Neither choice is automatically “premium” or “cheap.” It depends on what the recipient sees, what the pack must survive, and the unit economics. You can compare the outer structure on the lid and base gift box, flip and magnetic box, and corrugated mailer box pages before specifying an insert.
For a multi-item set, use an order-of-removal sketch. Number the items in the sequence a customer should encounter them. That sketch helps the supplier put access points in useful places and avoid a cavity that looks symmetrical but forces the user to remove one product to reach another. The sketch is also a simple sign-off document for your merchandising and fulfillment teams.
Retail display, warehouse handling and parcel delivery are different briefs
The phrase “protective packaging” is too broad to choose an insert. A box carried from a boutique shelf to a customer’s home has a different handling path from a box that passes through fulfillment, sorting, multiple vehicles and a final-mile handoff. A pack shipped inside a master carton has different exposures from a retail box mailed without an additional shipper. The insert design should start from the actual route.
For a retail presentation, check whether products remain aligned after the box is repeatedly opened and closed, whether surfaces stay clean, and whether the store can repack the item without damage. For e-commerce, evaluate the complete shipping configuration: product, insert, retail box if used, outer mailer or shipper, closure and any additional components. A beautiful retail sample says little about the assembled parcel if its outer pack was never part of the review.
For export or warehouse distribution, record whether cartons will be stacked, how the order is palletized, whether items are mixed, and where the final individual package is opened. Share the destination and distribution channel with the supplier. If a retailer, marketplace or carrier requires a particular test, give the actual requirement. Otherwise, agree on a test plan with a qualified party rather than claiming compliance from a casual hand shake or a single drop. ISTA’s published guidance distinguishes screening procedures from simulations of transport conditions; the right method depends on the route and the question being asked.
Do not confuse an insert’s local contact with the whole pack’s performance. A flexible material may feel soft at one contact point yet allow the item to move as a unit. A stiff locator may position an item well but transmit handling forces through a vulnerable corner. Those are design questions for a sample and, where appropriate, a documented packed-product test—not properties that can be settled by a generic material table.
Six failure modes to find before you approve a sample
1. The product fits, but cannot be removed comfortably. The most obvious cavity can be the least usable. Ask someone who did not design the pack to take the item out without instructions. Observe whether they pull on a cap, scratch a finish or tear the tray. Add a grip point only if the revised construction can be sampled and approved.
2. The item is retained sideways but moves upward. An open cavity can look snug in a photograph. Close the lid, handle the sample as intended and check whether a raised part contacts the lid or another item. Specify the position in which the pack must remain organized; do not assume every orientation has been assessed.
3. The insert is approved with a prototype, then the product changes. A new cap, different label wrap, revised cable bundle or new accessory can change the fit. Treat a product revision as a packaging revision. Confirm whether the approved sample still represents the final item before ordering bulk quantities.
4. The box and insert have incompatible tolerances. The insert may fit one sample box but buckle in another, or leave a visible gap. Ask which dimensions are critical, how the supplier checks them, and what is acceptable on the signed sample. Avoid publishing a blanket tolerance number without engineering evidence for that construction.
5. The top surface looks good while hidden contact points cause marks. Inspect the underside, cut edges, folded returns, adhesives and any point touching a printed or polished product. A display photograph rarely reveals these surfaces. A simple contact-map drawing can make inspection repeatable.
6. The empty sample is treated as final approval. Approve an assembled sample containing a representative product, printed surfaces, all accessories, closure and the intended outer pack. If the actual product cannot be provided, record that limitation and arrange a later fit review. Do not quietly turn an empty structural mock-up into evidence that the finished packed product has passed.
These checks do not require a buyer to become a packaging engineer. They require the buyer to describe an observable outcome and keep a record of what was actually tested. That record is valuable when a commercial, design and factory team are making decisions in different locations.
What to send a supplier for a useful first proposal
A supplier cannot quote a meaningful insert merely from a desired color and a photo of a competitor’s gift box. The fastest route to a useful proposal is a compact, complete brief. It also lets you compare quotations on the same basis rather than comparing a bare paper tray from one supplier with a fully packed solution from another.
First, send product photographs and physical dimensions, including projections and accessories. State the product’s actual packed orientation, weight if known, and any sensitive contact surfaces. For a set, include a top-view layout and identify which items must be removable independently. If you can send a real sample product, say when it will be available; if not, label the proposed dimensions as provisional.
Second, say what package the insert will sit inside. Specify whether you are considering a drawer box, lid-and-base box, magnetic box, folding carton or corrugated mailer. Attach any existing box drawing or approved dieline, and note whether its size is fixed. If the box is not yet fixed, ask the supplier to coordinate the box and insert sizes rather than designing an insert to an assumed cavity. Our OEM packaging process page explains how a project moves from requirements to a sample and production approval.
Third, explain the destination and use. Is the box a shelf presentation, a gift handed to a recipient, a unit inside a master carton, or a direct-to-consumer parcel? Will the inner packaging be seen? What is the expected loading and unpacking experience? If another organization sets a test or handling requirement, provide its written specification. A vague instruction such as “export quality” is not an acceptance criterion.
Fourth, describe the trade-offs you are willing to consider. One buyer may prioritize an unobstructed display surface, another a paper-based direction, and another a lower assembled cost. Ask for a proposed construction and a separately identified alternative if the trade-off is material. Do not assume that a material change leaves the box size, tooling or appearance untouched.
Finally, supply the target order quantity, destination market and timing constraint as requirements for review, not as promises the supplier has accepted. Request a written list of what is included in the quoted unit—insert only, printed wrap, assembly, product loading, outer carton or another service. A quote is much easier to compare when the scope is visible. If you are ready to discuss a project, the contact page is the action point; this guide itself is for making the brief clearer first.
Compare quotes by the decision they allow you to make
The lowest insert-only price is not necessarily the lowest cost of an approved packed box. A comparison should include what each supplier understood, what each option contains and what remains uncertain. Ask whether the quote assumes a supplied box size or includes box-size development. Ask whether a physical fit sample is included. Ask what will change if the product dimensions or cavity count change. If tooling is needed, ask for its ownership, charge and reuse terms rather than assuming every tool is a one-time cost.
Put the answers side by side. A short matrix can have columns for product layout, insert structure, visible finish, outer box, sample scope, tooling scope, packing labor and open questions. Use “not quoted” where information is missing. This prevents a narrow quote from appearing cheaper simply because it excludes the work another supplier included.
Cost and sustainability claims also need context. A paper-looking insert may include coatings or mixed materials. A foam-looking insert may have a very different conversion process from another foam option. Neither the visual appearance nor a broad label determines end-of-life handling in every destination. In the United States, the Federal Trade Commission’s Green Guides advise qualifying recycling claims when appropriate facilities are not widely available. Ask for material and construction details before repeating an environmental claim in your product marketing.
There is no universal rule that a complex insert is worth its extra cost. If the product can be retained by a simpler folded structure and the sample meets the brief, complexity may add little value. Conversely, removing a component just to reduce unit price can increase product movement or make loading unreliable. The commercial question is not “Which material sounds premium?” but “Which approved configuration performs the required job at an acceptable total cost?”
A sample-approval checklist buyers can actually use
Approve the assembled pack against the same brief used for quotation. Place the real or representative product in the cavity and verify its orientation. Check the fit at the intended contact points, access for removal, visible alignment, and whether accessories stay in their assigned positions. Open and close the box repeatedly under normal handling. Inspect printed and wrapped surfaces after the product has been inserted and removed.
Record any difference between a display sample and a transport sample. If the order will travel as a parcel, examine the intended shipping configuration rather than a retail box alone. Agree who will perform any required packed-product test, which method applies, what constitutes damage, and how results will be recorded. A sample being physically present is not the same as a test pass, and a test pass for one configuration is not automatically transferable after components change.
Photograph the approved arrangement from several angles. Mark the product version, insert material or construction, box version, visible finish, accessories and closure on the approval record. If a change is requested, issue a new revision and identify whether the sample must be remade. This sounds procedural, but it prevents a familiar dispute: the brand approved one arrangement, while production used a later product or artwork that nobody checked against it.
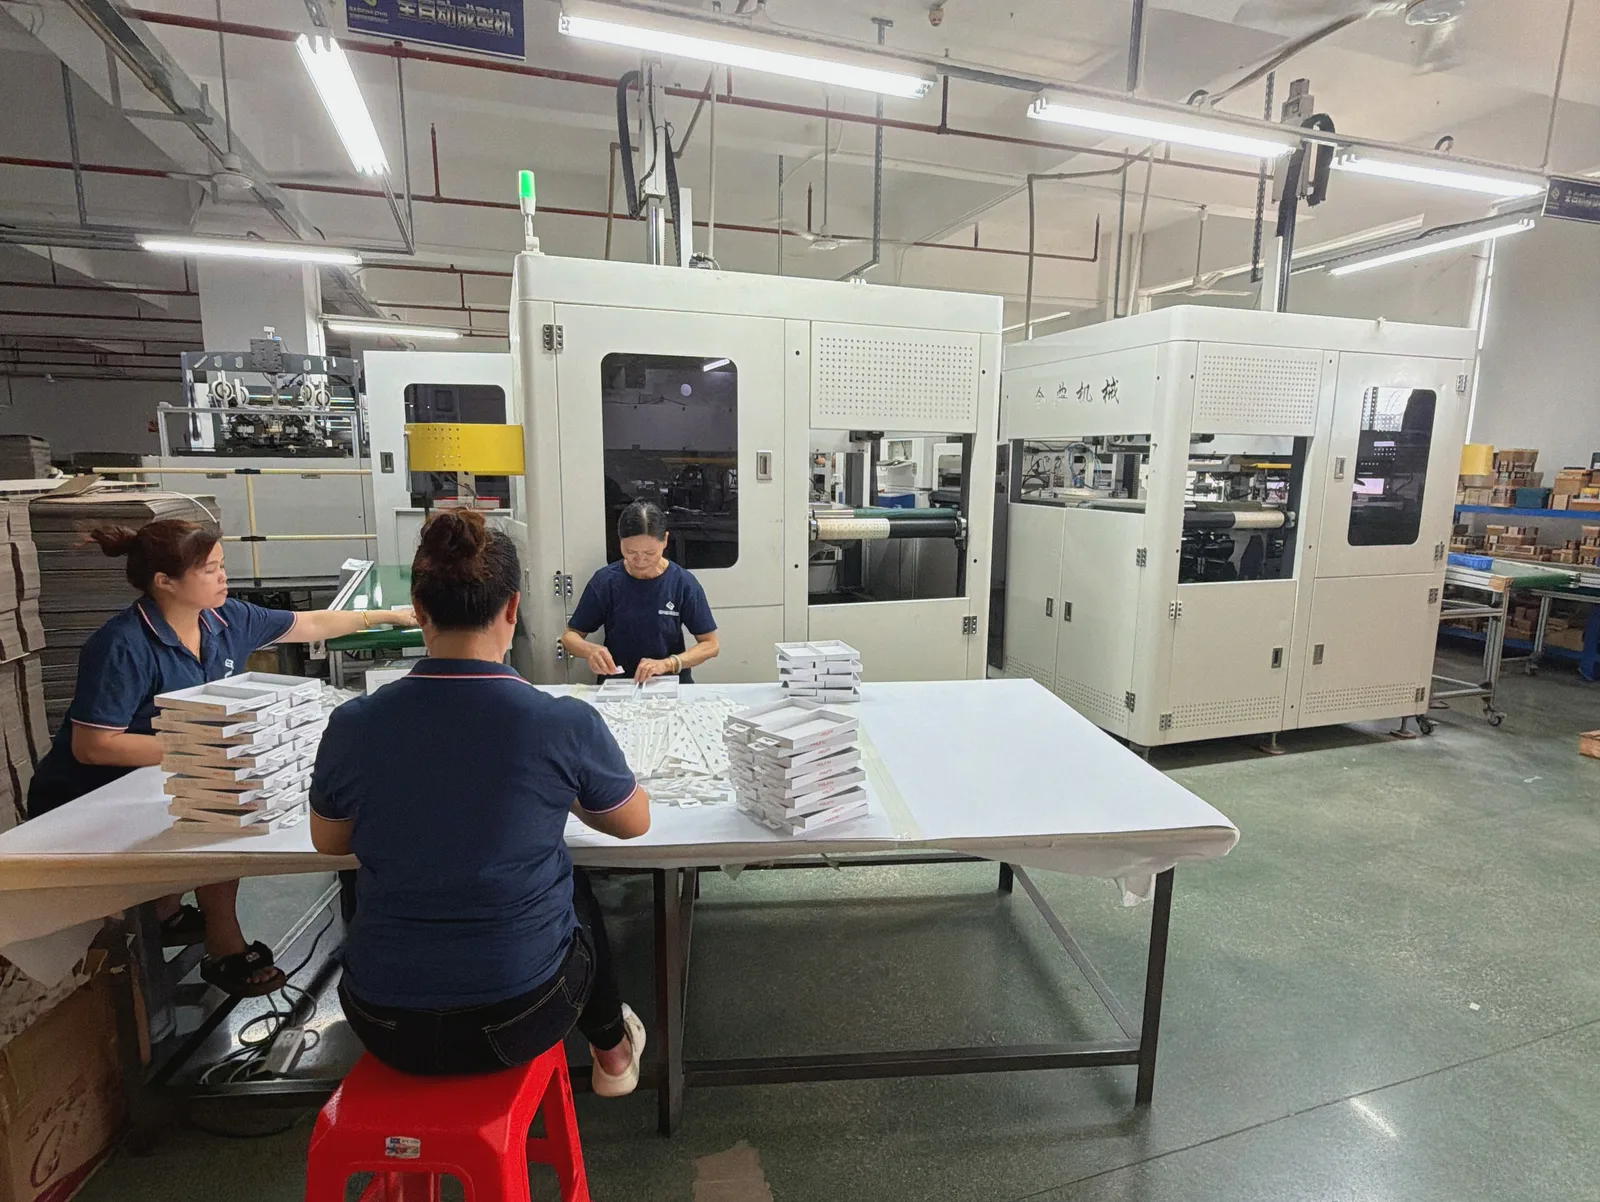
The sample should also be reviewed by the people who will pack the orders. Can they load items consistently without forcing a part into place? Is the orientation obvious? Could two similar items be swapped? A design that only its designer can assemble may create variation during a run. Our quality-control page describes the wider checks around prepress, printing, post-press and packing; the insert-specific checks above should become part of the project record, not an assumption hidden inside “QC.”
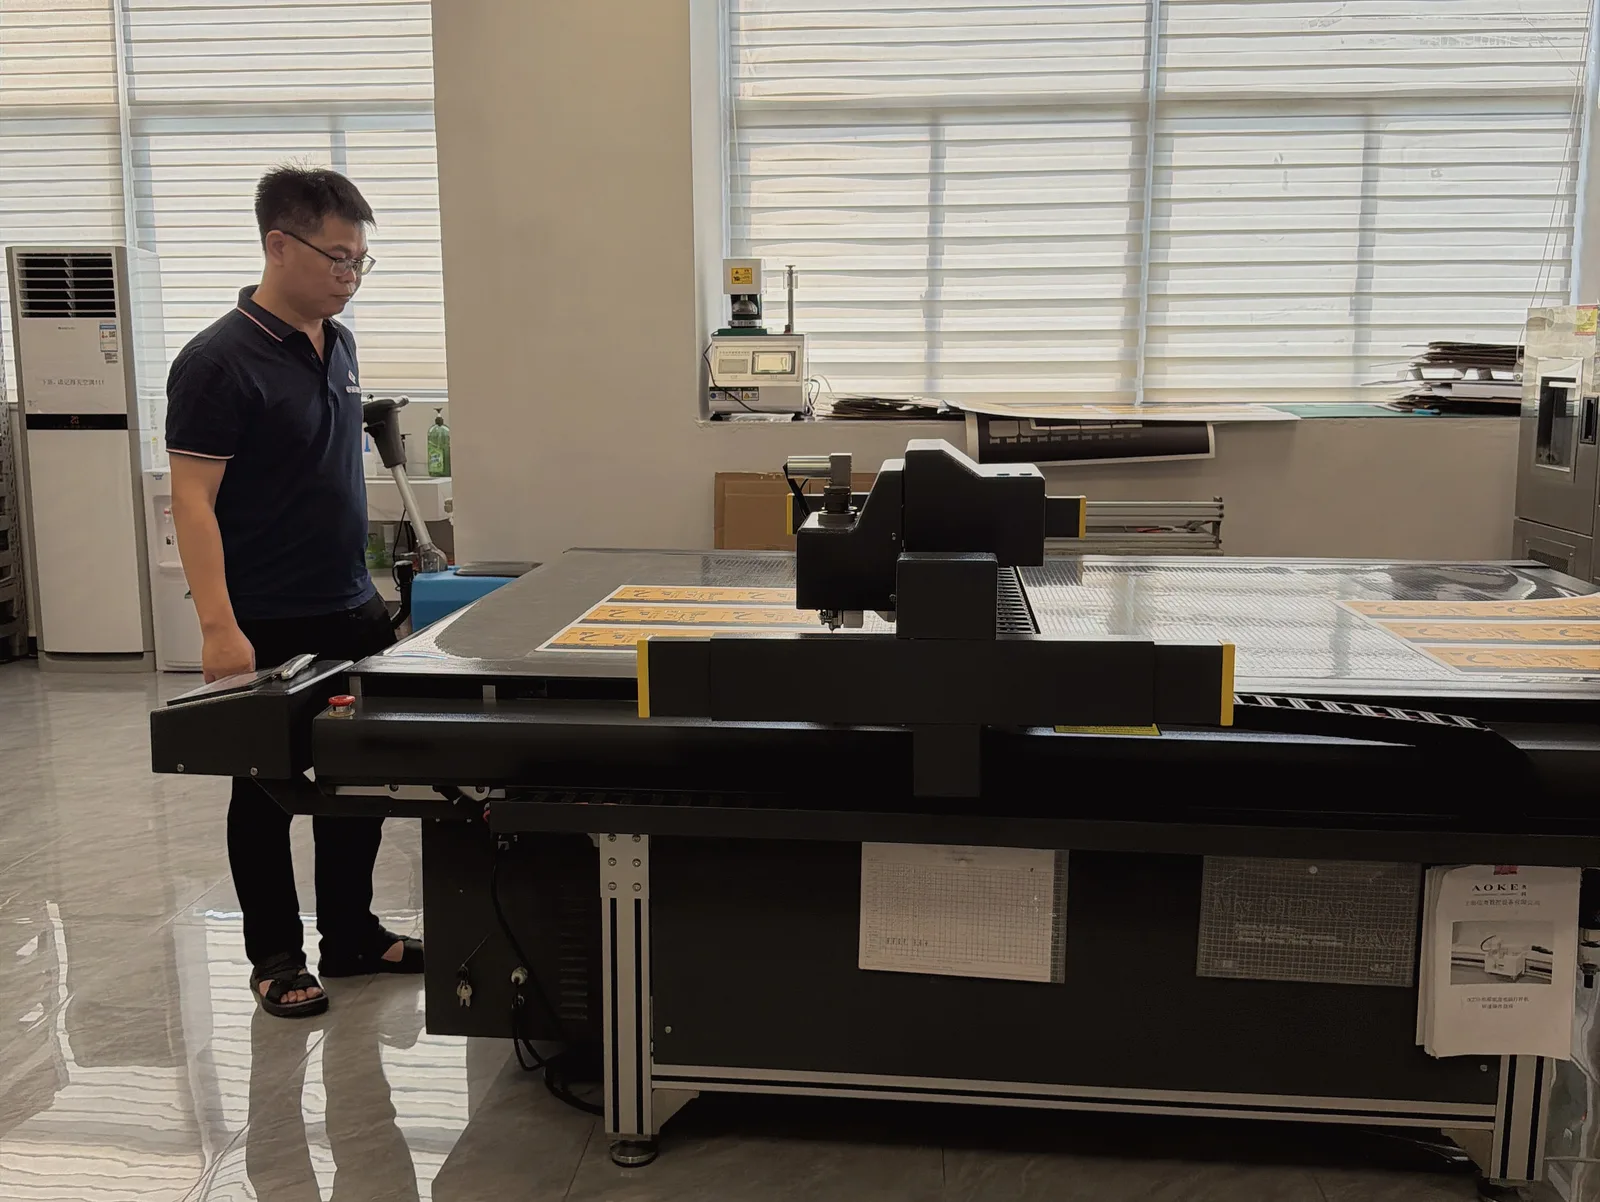
What to freeze before bulk production
Before authorizing bulk production, make one specification package that both buyer and supplier can identify. Include the exact product version and layout, approved insert drawing, material description, visible finish, box drawing, printed artwork, packing method and the signed sample or approval record. Define which dimensions and appearance points are critical. Keep a record of who approved a change and when.
Check the boundaries of the approval. Was it a structural fit approval, a color approval, a packed-product approval, or all three? Did it use the production material or a substitute? Was the actual product inside? Was the outer shipping carton included? These questions are not bureaucracy; they tell you what the sample proves and what remains to be checked.
If the buyer later changes a cap, bottle, accessory, leaflet, loading order or route to market, revisit the insert. Even a small change can alter access or contact. ISTA notes that changes to materials, interior packaging, closure methods or the product may make retesting appropriate. The precise decision depends on the change and distribution environment; do not promise that an earlier test covers a new configuration.
At this stage, distinguish a supplier’s capability from a specific project commitment. Baoxinglong’s site discusses paperboard, corrugated and project-specific inserts as part of custom packaging development. The actual insert, material source, sample scope and production method for your order should appear in the approved proposal. If you need a foam, molded-fiber or specialized surface option, ask the team to confirm feasibility rather than treating this article as a catalog promise.
A worked example: turn a vague request into an actionable brief
Suppose a buyer asks for “a premium box with a soft insert” for a set containing a bottle, a jar and a card. That request describes an impression, not a buildable specification. It says nothing about bottle-cap width, the jar’s weight, whether the label can touch the insert, how the card should be revealed, or whether the gift box will be mailed directly.
A better first message would state the item count and attach top, side and bottom photographs of each item. It would provide the packed dimensions and weights that the buyer actually knows, identify any value that is still provisional, and show a preferred arrangement. The buyer would say whether the gift box is a direct-to-consumer parcel or is placed inside a separate shipper. They would explain which item should be seen first and ask for a way to remove the bottle without gripping its cap.
The supplier could then propose one or more structures. One might prioritize a clean visible platform; another might prioritize separation during handling. The buyer should ask for drawings that show contact points and access, not just a beauty rendering. A physical sample would be loaded with the actual items or clearly labelled substitutes, and the resulting observations would be recorded. Only after that review should the parties freeze the box dimensions and the insert construction together.
This example is hypothetical. It is not a Baoxinglong customer case, a claim of a tested design, or a statement that a particular material will be recommended. Its value is the decision sequence. You can use that same sequence for electronics, jewelry, cosmetics, stationery or another set without copying the example’s construction.
The practical answer: choose the lowest-complexity approved solution
The most useful insert is not necessarily the softest, most intricate or most photogenic. It is the least complicated construction that achieves the agreed product position, presentation and handling result in the complete pack. Sometimes that means a folded paperboard locator. Sometimes it means a corrugated partition or a project-specific form. The correct answer follows a real product, a defined use and an approved sample.
If you remember only three actions, make them these: send the actual product information before fixing the box size; ask how the product is held and removed in the complete pack; and sign off a sample with a written record of what was—and was not—checked. Those actions make a quote more comparable and reduce the chance that a beautiful empty box becomes an expensive revision later.
Frequently asked questions
What information should I send for a custom insert quote?
Send photographs and dimensions of the actual product, its weight if known, the number and arrangement of items, the proposed box style, the intended display and shipping route, quantity and destination. Identify delicate surfaces and what the customer should see when the box opens. If information is provisional, label it as provisional so the supplier does not treat an assumption as a fixed dimension.
Is a paperboard insert always enough for a gift box?
No material can be selected from the outer box style alone. A paperboard structure may be a useful candidate when the item, geometry and desired presentation suit it. Whether it is sufficient depends on product contact, movement, handling and the complete packed configuration. Compare a physical sample with the brief before approving it.
Should I decide the outer box size before designing the insert?
Usually it is better to coordinate them. The insert, product, access features and lid clearance all use space inside the box. If the outer dimensions are already fixed, tell the supplier immediately; that becomes a constraint that may limit insert options or require a different product arrangement.
Are foam or molded-fiber inserts available for every order?
Do not assume so from a general article. Availability, conversion method, tooling, quantity and documentation are project-specific. Baoxinglong’s published pages describe paperboard, corrugated and project-specific inserts; ask the team to confirm any additional option for the exact project before presenting it as an agreed specification.
Does an insert guarantee that my product will survive shipping?
No. Performance depends on the product, insert, box, outer shipper, closure and distribution route as a system. If transport performance is required, define the route and acceptance criteria, then arrange an appropriate evaluation of the complete packed product. An attractive sample or a generic material description is not a transport-test result.
How do I compare two quotes that use different inserts?
Put the scope side by side: product layout, insert construction, visible finish, outer box, sample work, tooling, packing labor, material documentation and any unpriced item. Ask each supplier what is assumed and what remains to be confirmed. Comparing only an insert unit price can hide differences in assembly and approval scope.
Can I describe a fiber-based insert as recyclable in the United States?
Do not make an unqualified claim from appearance or a generic material name. Consider the complete construction and the recycling access in the market where the package is sold. Obtain appropriate material information and review the claim against applicable guidance, including the FTC Green Guides, before using it in customer-facing copy.
What changes after a sample has been approved?
Any revision to the product, layout, insert, material, box, closure or distribution route may require another review. Record the approved version and evaluate the effect of each change. A prior sample or test does not automatically prove that a revised packed product will behave the same way.
References for the technical cautions in this guide
- ISTA: getting started with design and testing — selecting a packaged-product evaluation in the context of the real distribution environment.
- ISTA: test procedures — the distinction between screening and transport-simulation approaches.
- U.S. FTC: environmental claims and the Green Guides — why recyclable claims may need qualification.